How to Install Roof Flashing
Table of Contents
Roof flashing is a crucial component of your roofing system that often goes unnoticed until a problem arises. Properly installed roof flashing is essential for preventing water infiltration and protecting your home from potential water damage. Knowing How to Install Roof can save you time and money in maintaining your roof.
Reach out to a professional roofer for the best results!
But for now, get informed.
In this comprehensive guide, we will explore:
- What roof flashing is
- The various types available
- How to Install Roof correctly
- When it’s best to leave the task to a professional

What is Roof Flashing?
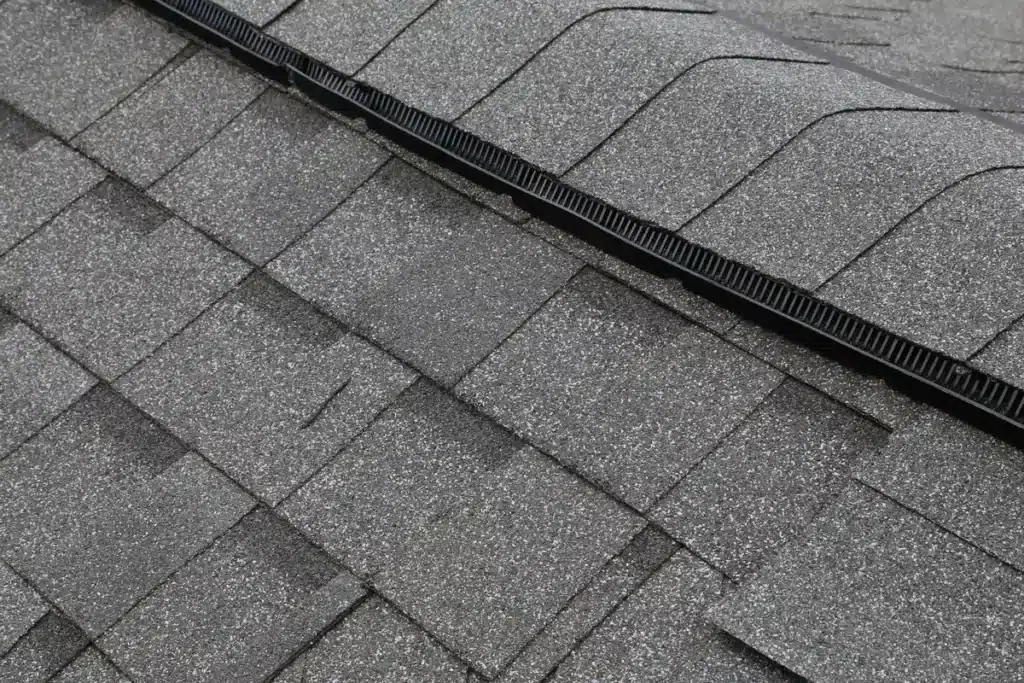
Roof flashing is a weatherproof material or component used to prevent water from seeping into the vulnerable areas of your roof. It acts as a protective barrier that redirects water away from critical junctions, such as roof edges, valleys, chimneys, skylights, vents, and any other penetration points on your roof. Learning ensures your roof remains durable and leak-free.
Different Types of Roof Flashing
There are several types of roof flashing materials available, each designed for specific applications. Understanding the different types is vital to knowing How to Install Roof properly. Here are the common types:
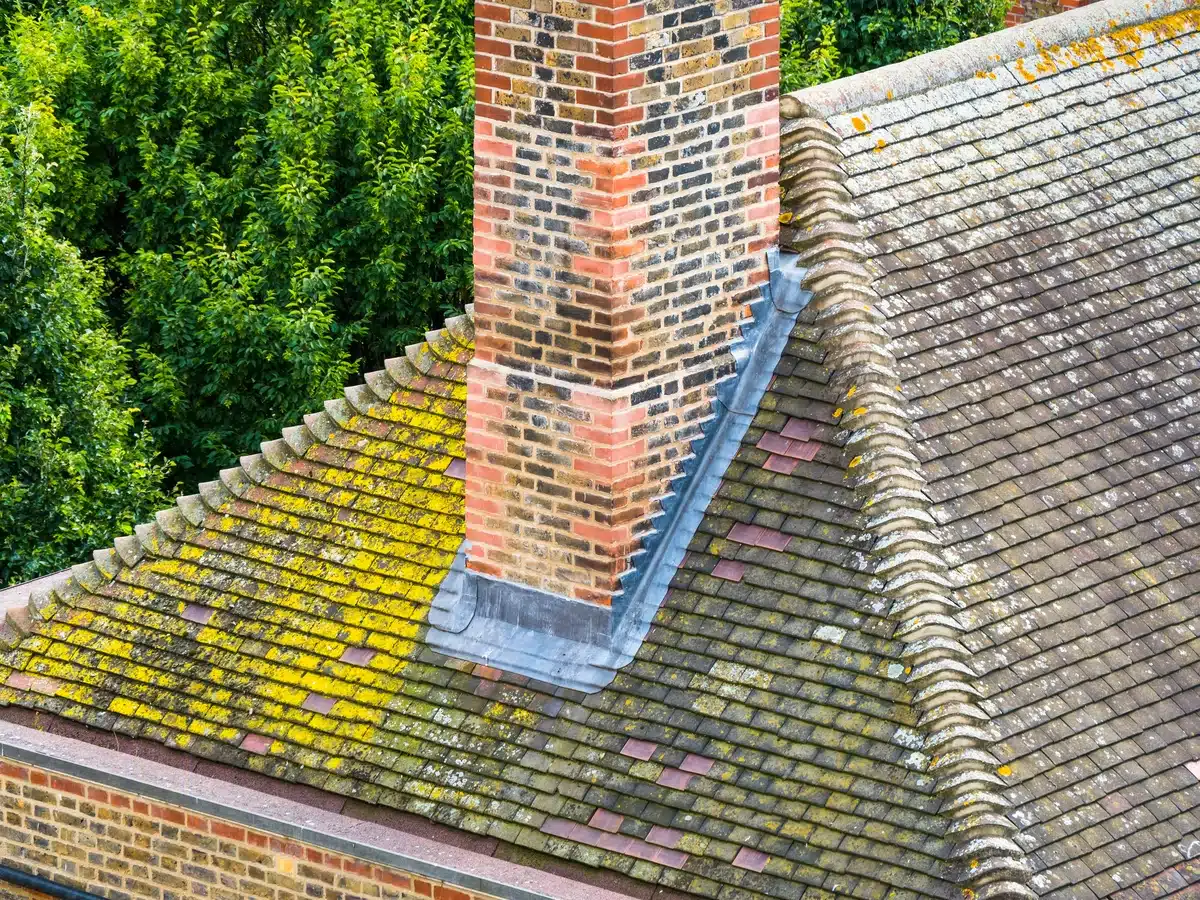
- Step Flashing: Used to seal joints between a roof and a vertical surface, such as chimneys or dormers. Essential for mastering How to Install Roof at intersections.
- Valley Flashing: Installed in roof valleys to channel water away, a critical aspect of [How to Install Roof Flashing].
- Drip Edge Flashing: Directs water into gutters and protects the fascia, a foundational step in How to Install Roof.
- Chimney Flashing: Designed for sealing around chimneys, requiring careful attention in How to Install Roof.
- Vent Pipe Flashing: Protects areas around vent pipes, showcasing a vital skill in [How to Install Roof Flashing].
- Skylight Flashing: Seals around skylights to prevent water intrusion, highlighting precision in [How to Install Roof Flashing].

How to Install Roof Flashing in 6 Steps
Proper installation is essential for ensuring roof flashing is effective. Follow these steps to learn [How to Install Roof Flashing] effectively:
Step 1: Gather Your Tools and Materials
Ensure you have all necessary tools before beginning. A proper setup is the first step in learning How to Install Roof Flashing.
Step 2: Prepare the Area
Clean the area where the flashing will be installed. This preparation step is crucial in [How to Install Roof Flashing] to avoid gaps and leaks.
Step 3: Measure and Cut the Flashing
Accurate measurements and cuts are foundational to understanding [How to Install Roof Flashing] correctly.
Step 4: Install the Flashing
Position the flashing snugly against the roof and secure it. This is where precise execution of [How to Install Roof Flashing] matters most.
Step 5: Overlap and Seal
Overlapping pieces and sealing with roofing cement ensure durability. It’s a critical part of mastering [How to Install Roof Flashing].
Step 6: Inspect and Test
Inspect for gaps and test with water to confirm success in [How to Install Roof Flashing].
When to Leave it to a Professional
While some homeowners may handle minor flashing repairs, extensive projects or complex designs require professional expertise in [How to Install Roof Flashing].
Install Roof Flashing With a Pro
Roof flashing is a vital component of your roofing system that plays a crucial role in preventing water damage. Understanding the basics of Roof Flashing can save you from costly repairs.
When it comes to complex projects or ensuring long-lasting results, trust professionals who specialize in How to Install Roof.
Contact Tectum Roofing today for expert advice and seamless service!


